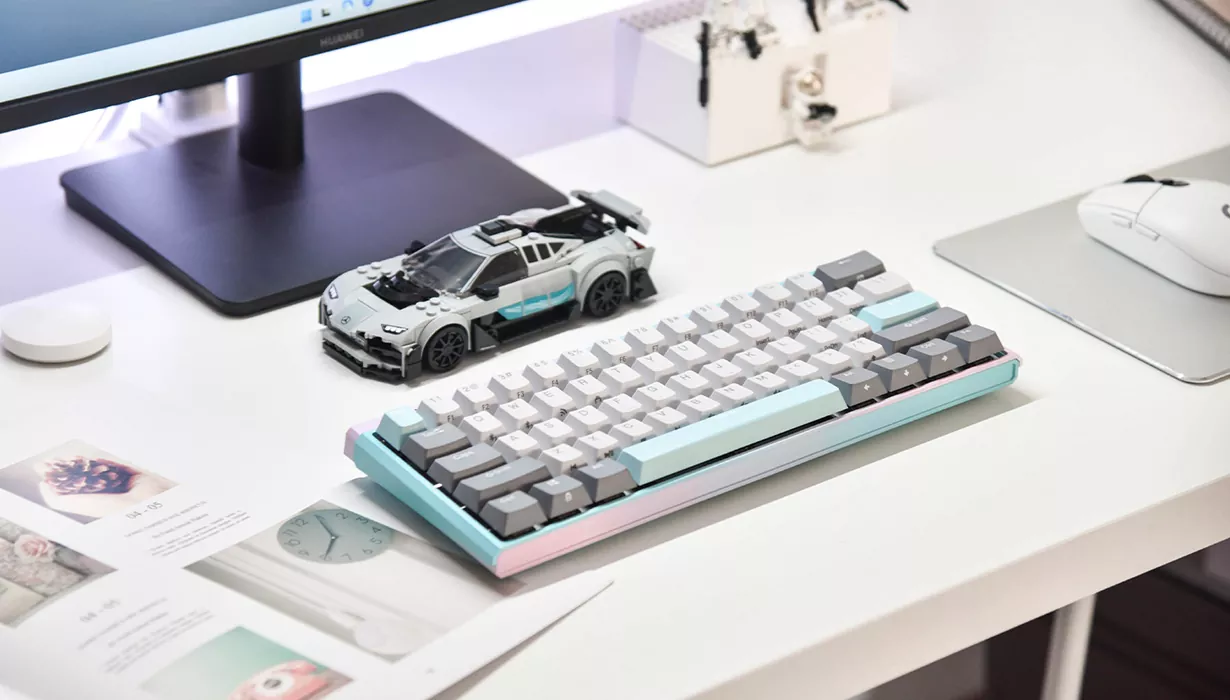
You can make a keyboard from scratch by gathering the right parts, preparing your workspace, and following each step with care. Many people love DIY keyboards for the chance to customize, learn, and save money in the long run:
- You get a keyboard that fits your style.
- You learn how each part works.
- You spend less over time.
| Type | Cost Range |
|---|---|
| Custom Mechanical Keyboard | $200 - $500+ |
| Pre-built Mechanical Keyboard | $50 - $150 |
If you are new, patience helps during every stage of the 键盘制作过程. Hengcang offers trusted components and expert support for your build.
Key Takeaways
- Making a keyboard lets you change many things. Pick parts that fit what you like and need.
- Check your PCB before you start building. Testing it first helps you find problems early. This makes building easier.
- Use the correct tools for each step. Simple tools like a keycap puller and soldering iron help a lot.
- Go slowly and do each step carefully. Being patient helps you not make mistakes. You will get a better keyboard in the end.
- Changing how keys work can make typing better. Use software like VIA to set up your keyboard the way you want.
Parts and Tools

Main Components
Before you start building, you need to know the main parts of a mechanical keyboard. Each part plays a special role in how your keyboard feels and works. Here’s a quick look:
| Component | Description |
|---|---|
| Key Switches | The heart of your keyboard. You can choose from different types, like linear, tactile, or clicky. Each one feels and sounds different. |
| Construction | You build your keyboard using a plate or a PCB. This choice affects how you mount the switches. |
| Stabilizers | These help larger keys, like the space bar, move smoothly and quietly. |
| Controller Board | This connects your keyboard to your computer. It’s usually part of the PCB. |
| Keycaps | These are the tops of the keys. You press them when you type. They come in many shapes and colors. |
Tip: Customizing your switches and keycaps can change how your keyboard feels and looks. You can pick what matches your style!
Essential Tools
You don’t need a lot of fancy tools, but a few basics make the job much easier:
- Keycap Puller: Lets you remove keycaps safely.
- Switch Puller: Helps you take out switches without damage.
- Screwdriver: Needed for opening the case and securing parts.
- Tweezers: Useful for handling small pieces.
- Soldering Iron: Needed if your switches are not hot-swappable.
- Desoldering Pump: Helps remove old solder if you want to swap switches.
- Multimeter: Checks if everything works before you finish.
Sourcing Tips
Finding good parts is important. You want your keyboard to last and feel great. Here are some trusted sources:
| Source | Description | Special Offers |
|---|---|---|
| Kinetic Labs | Sells switches, keycaps, and more. | Free shipping for orders over $150. |
| NovelKeys | Offers custom keyboards and accessories. | Free shipping on domestic orders over $99. |
If you want high-quality, customizable parts and expert support, Hengcang stands out. With over 25 years of experience, Hengcang offers a huge range of mechanical keyboard components and professional service. You can get exactly what you need for your dream build.
Preparing the PCB

Inspection
Before you start building, you need to check your PCB (printed circuit board) for any problems. This step helps you avoid headaches later. Take a close look at the board under good light. Look for anything that seems off, like scratches, broken parts, or leftover bits from the factory.
Here’s a quick table showing what you should check and why it matters:
| Test | What is Inspected | Criteria |
|---|---|---|
| Visual and X-ray inspection | Debris, delamination, or damage on surface and inside layers | Pass/fail |
| Peel test | Strength of the layers in the PCB stackup | Pass/fail + value |
| Solder pot and float tests | Solderability and heat resistance of holes | Pass/fail |
| Automated optical inspection | Solder issues, cracked joints, or missing parts | Pass/fail |
You might spot some common defects during this step:
- Unresponsive key presses
- Sticky or repeating keys
- Noisy operation
- Connectivity issues
- Lighting problems
If you see any of these, don’t panic. Most issues have simple fixes. For example, if you find a bent pin or a loose socket, you can usually fix it with tweezers or a gentle touch.
Testing
Now it’s time to test your PCB before you put everything together. This helps you catch problems early. Here’s how you can do it:
- Plug your PCB into your computer with a USB cable.
- Use tweezers, a bent paperclip, or a small wire to touch both switch pin pads for each key spot.
- Watch your testing software to see if the key press shows up.
- Repeat for every key position.
You can use free tools like QMK Configurator, VIA, or Karabiner-Elements to make this easy.
If something doesn’t work, try these troubleshooting steps:
| Issue | Suggested Steps |
|---|---|
| PCB not recognized or disconnects | Test the USB cable and port. Check the PCB switch. Look for loose connections. |
| Specific key/keys not registering | Bridge the pads with tweezers. Check for bent pins, loose sockets, or bad contact. |
Taking your time with inspection and testing saves you a lot of trouble later. If you ever feel stuck, Hengcang’s support team can help you solve tricky PCB problems.
keyboard making process
Building your own keyboard is a hands-on adventure. You get to choose every part and make it feel just right. Let’s walk through the together, starting with stabilizers, then switches, and finally, assembly.
Stabilizers
Stabilizers help big keys like the space bar and shift move smoothly. If you skip this step, your keyboard might feel wobbly or sound rattly. Here’s how you can install and lube stabilizers for a better typing experience:
- Gather your stabilizers. You can pick screw-in, plate-mounted, or clip-in types. Each has its own perks.
- Lube the stabilizers. Dip the ends into a small amount of Krytox lube. Less is more!
- Lube the springs. Put a tiny bit of lube in a ziplock bag, add the springs, seal, and shake gently.
- Install the stabilizers. Follow the instructions for your type. Screw-in stabilizers attach directly to the PCB. Plate-mounted ones snap onto the plate. Clip-in stabilizers are easy to fit but less secure.
Here’s a quick look at popular stabilizer types and their advantages:
| Stabilizer Type | Popular Options | Advantages |
|---|---|---|
| Screw-in Stabilizers | Durock V2s, TX (Rev. 3), Staebies V2, Owlstab V2, Gateron Ink V2 | Secure fit, easy to mod, great performance, affordable |
| Plate-mounted Stabilizers | Durock’s plate mount, Sumgsn, NovelKeys, Akko | Simple installation, Akko’s design skips extra modding |
| Cherry Clip-In Stabilizers | Cherry stabilizers | Budget-friendly, easy to install, works for many builds |
Tip: Clean your workspace before you start. Dust and oil can mess up your stabilizers and switches.
Switches
Switches are the heart of your keyboard. You get to pick how each key feels and sounds. There are three main types:
| Switch Type | Characteristics | Ideal For |
|---|---|---|
| Linear Switches | Smooth keystroke, no bump or click. | Quiet places like offices. |
| Tactile Switches | Noticeable bump at actuation, gives feedback. | Typists who want clear feedback. |
| Clicky Switches | Tactile bump and click sound when pressed. | Fans of typewriter-like keyboards. |
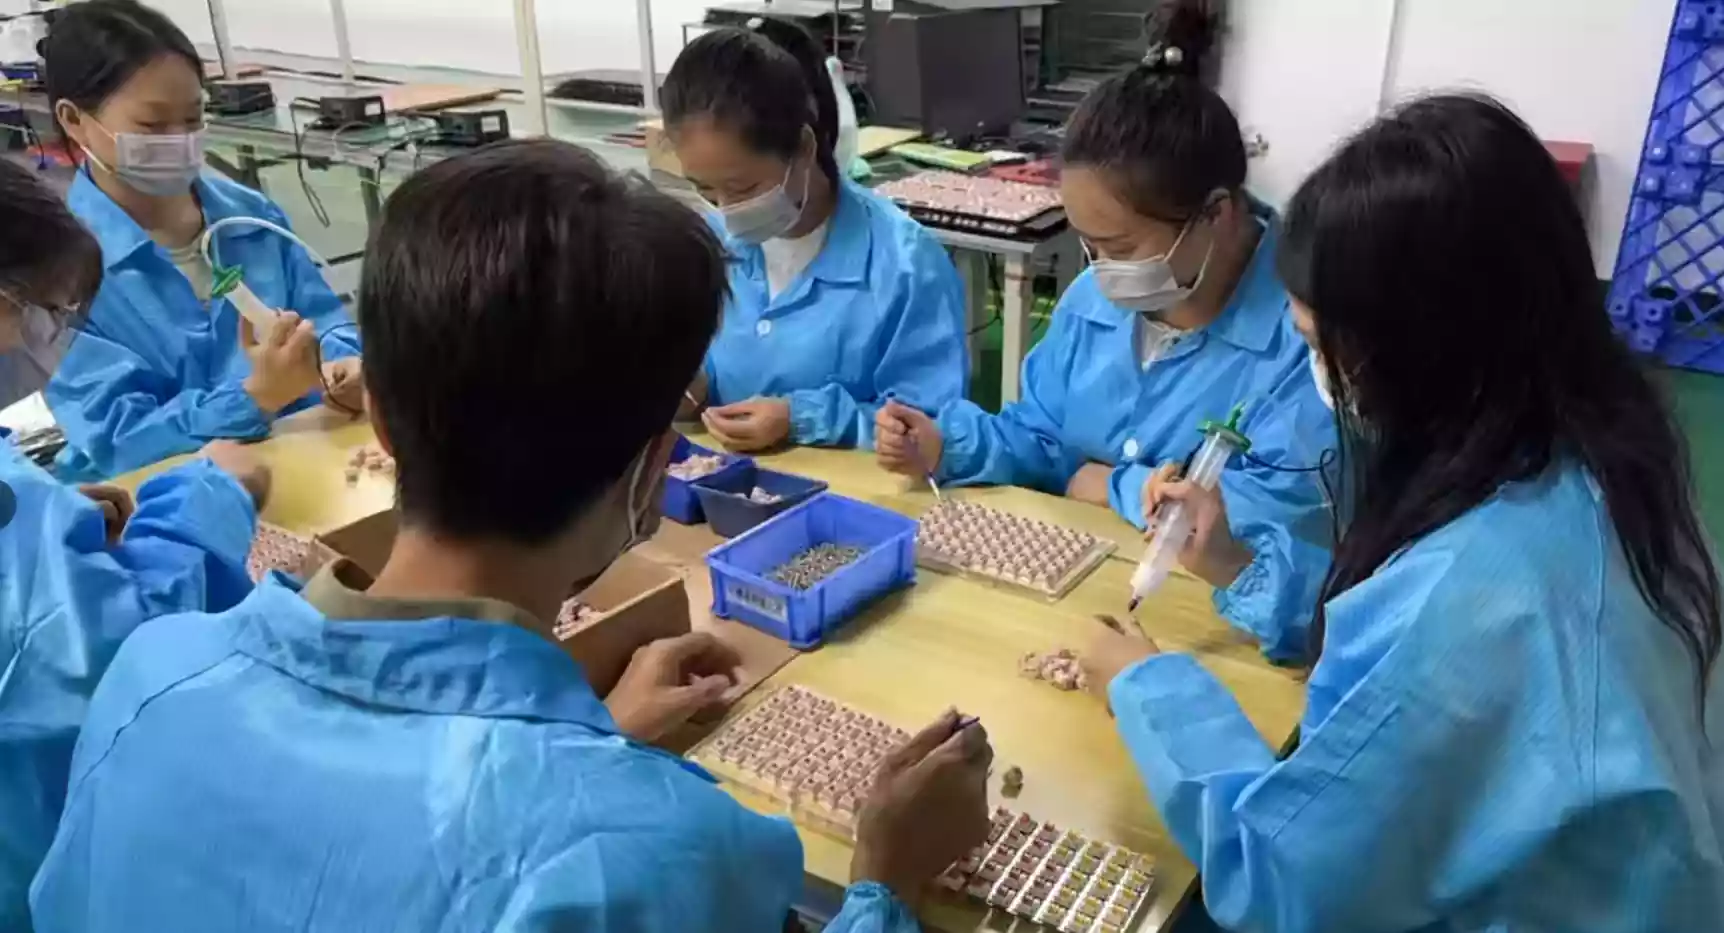
You can lube your switches for a smoother feel. Use a lubing station or do it by hand. Take apart each switch, add a tiny bit of lube, and put it back together. Don’t use too much—just enough to make the movement smooth.
When you mount switches, you have two choices:
- Plate-mounted switches: Snap into the plate first, then fit onto the PCB. These feel sturdy and last longer.
- PCB-mounted switches: Go straight onto the PCB. They have extra pins for easy alignment.
Note: PCB-mounted switches are easier to install and help keep your switches straight.
Assembly
Now you get to put everything together. This is the most exciting part of the Keyboard production process. Follow these steps for a smooth build:
- Check your parts. Make sure everything is clean. Wipe off dust and fingerprints.
- Install stabilizers. Attach them to the PCB or plate, depending on your type.
- Mount switches. Push each switch into the plate or PCB. Make sure they sit flat and click into place.
- Solder the switches (if needed). Use a soldering iron to attach each switch pin to the PCB. If your board is hot-swappable, you can skip this step.
- Test your build. Plug in the PCB and check every key. Fix any that don’t work.
- Tune your keyboard. Add more lube if needed. Adjust stabilizers for less rattle. Try different keycaps for a custom look.
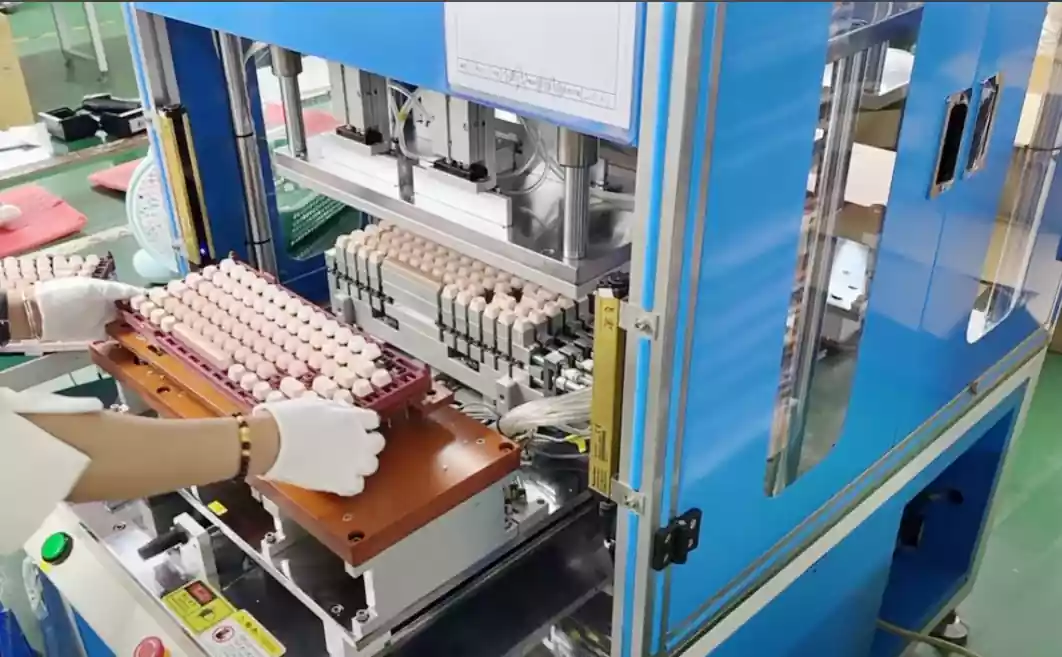
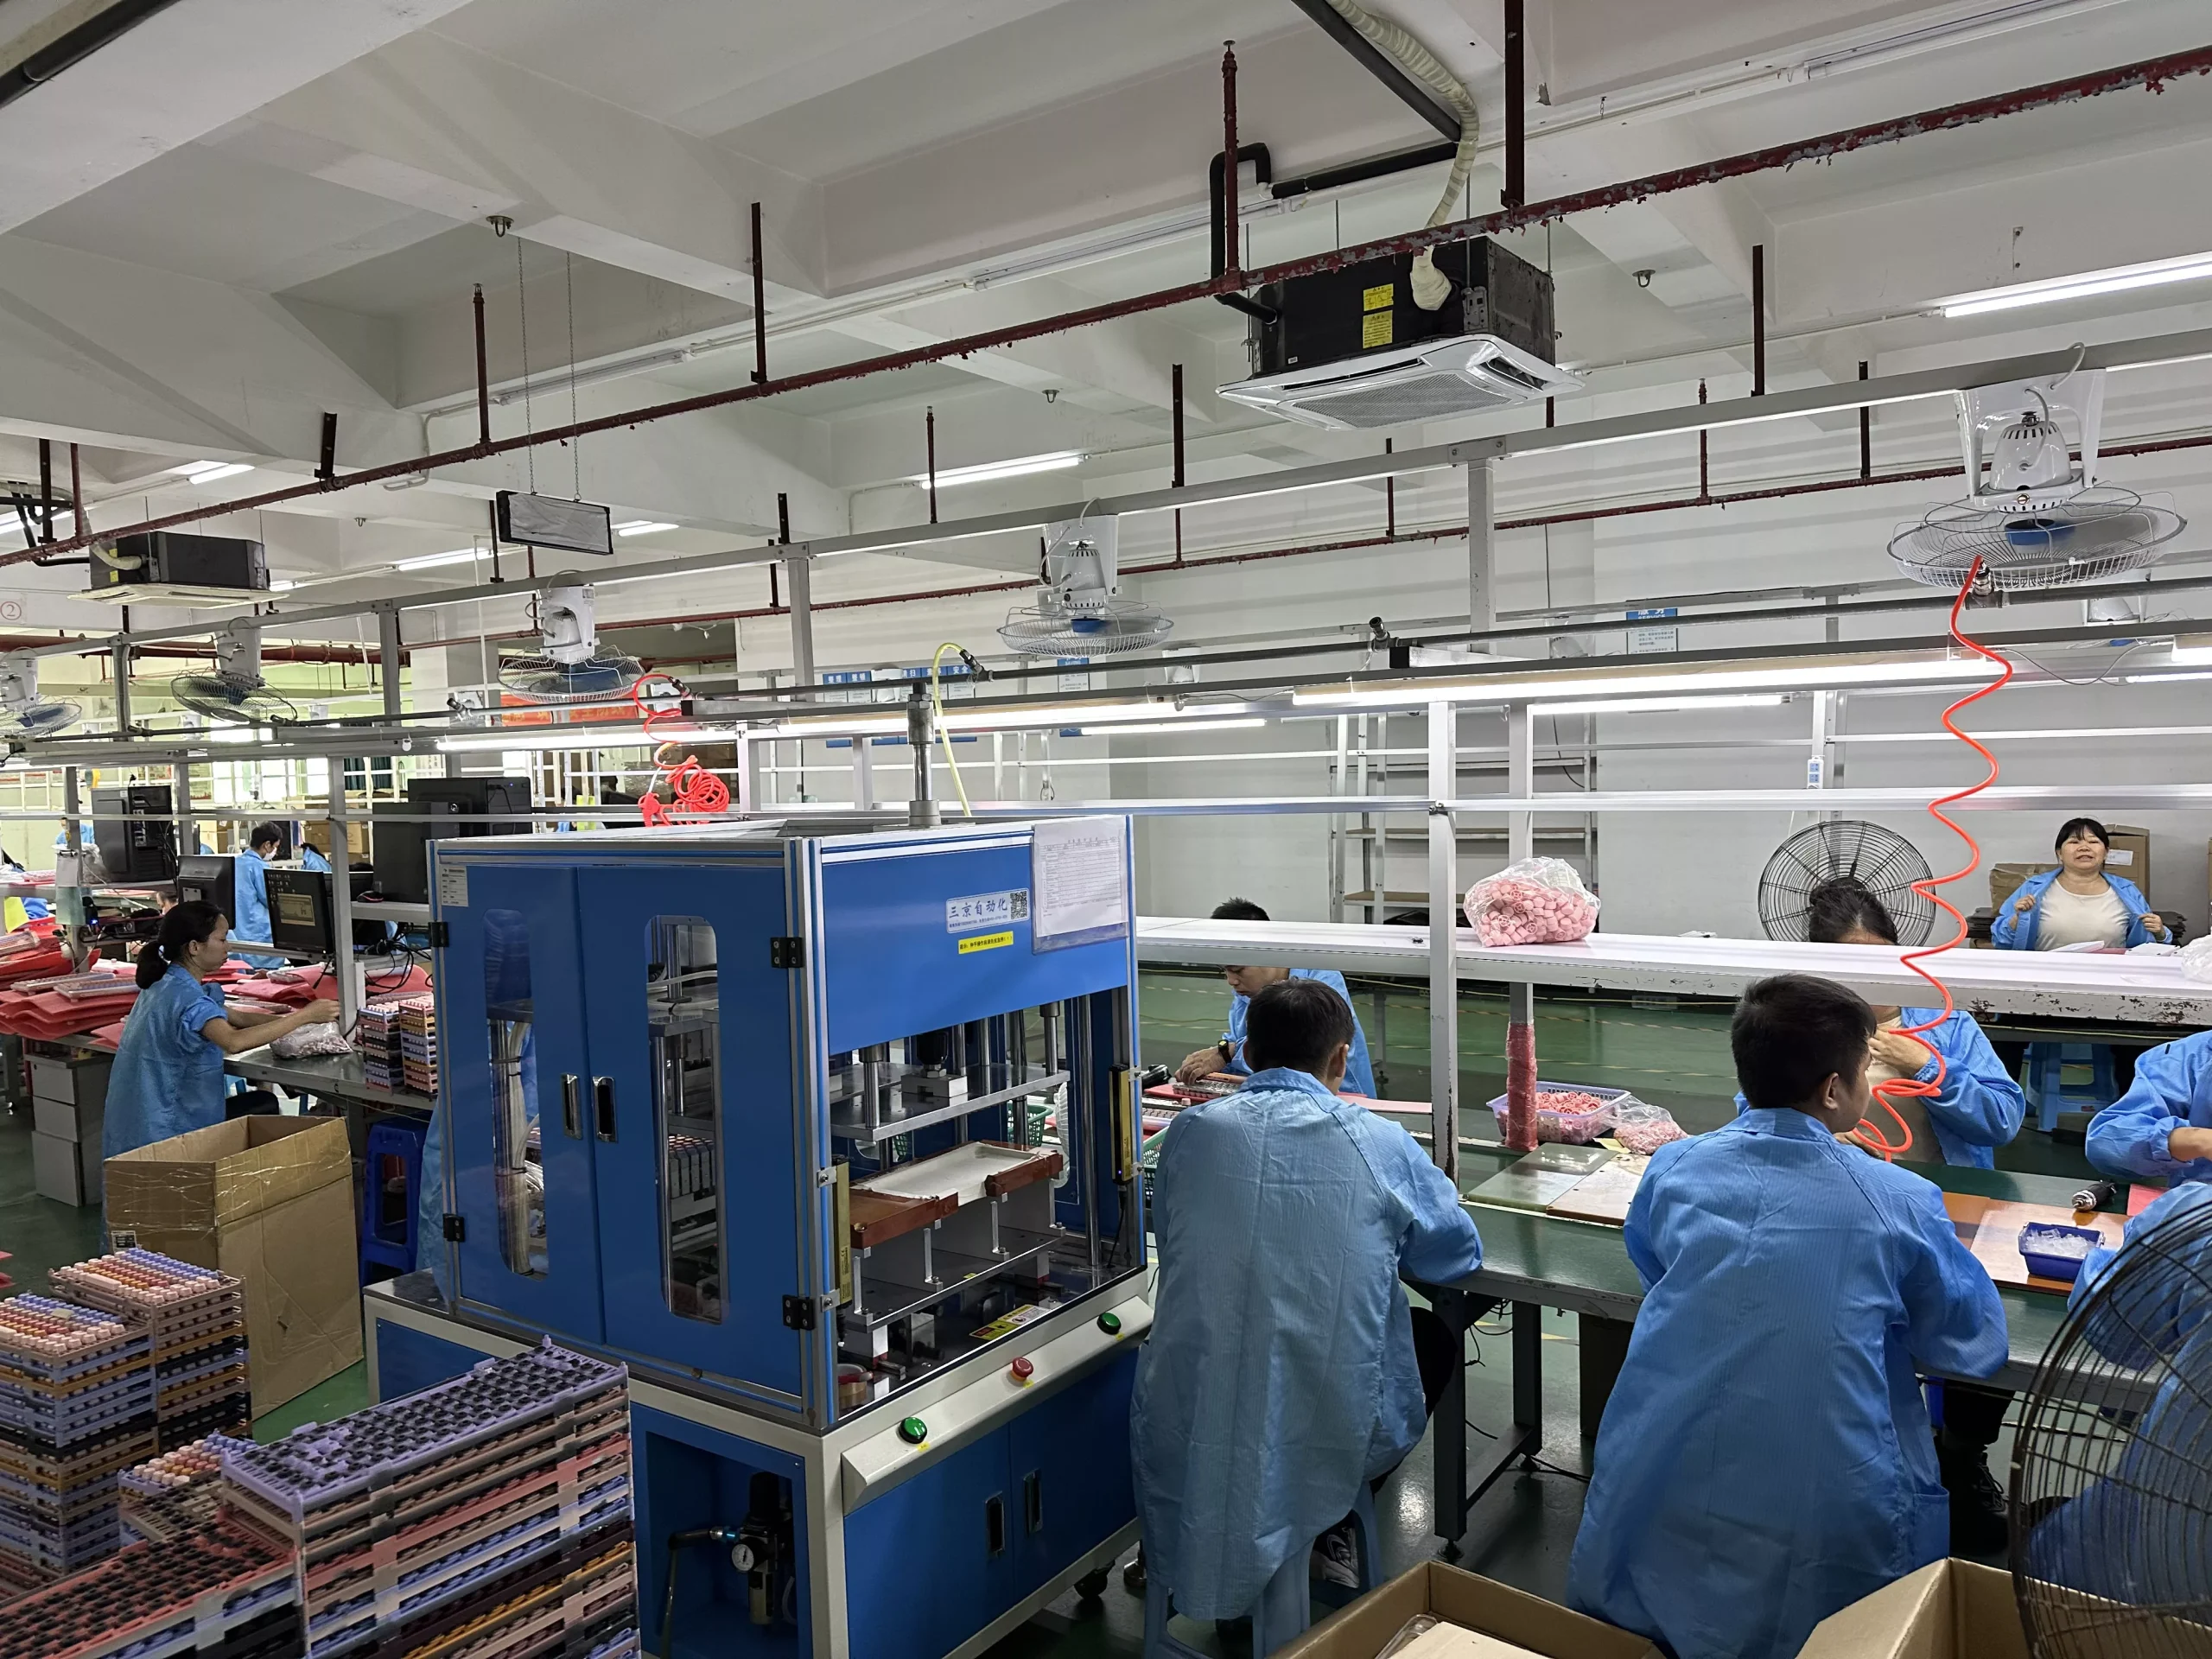
Hengcang uses advanced production lines and strict quality checks. Every keyboard goes through visual inspection, metal parts testing, and dimensional accuracy checks. You get a reliable keyboard that works perfectly.
Pro Tip: Handle the PCB by the edges. Avoid touching contacts with oily fingers. Always double-check cable connections.
Optional steps like soldering and tuning can make your keyboard feel even better. Lubricants smooth out keypresses. Soldering secures your switches. Tuning lets you adjust the sound and feel to match your style.
You’ve finished the keyboard making process! Take a moment to enjoy your work. You built a keyboard that’s truly yours.
Final Steps
Testing Build
You finished the main part of the keyboard making process. Now it’s time to see if your keyboard works as expected. Plug your keyboard into your computer. Open a keyboard tester website or use software like VIA. Press each key one by one. Every key should light up or show a response on the screen. If a key does not work, check the switch and soldering. Sometimes, a key acts strange or repeats. Look at the PCB and make sure everything sits tight. If you run into trouble, Hengcang’s support team can help you solve problems quickly. They offer help with common issues like non-working keys or layout errors.
Tip: If your keyboard feels uncomfortable, try using a wrist rest or look up ergonomic layouts. This can help you type longer without pain.
Keycaps
Keycaps give your keyboard its final look and feel. You can choose from different materials and shapes. Here’s a quick table to help you pick:
| Material | Description | Pros | Cons |
|---|---|---|---|
| PBT | Durable, textured surface, quieter keystrokes | Quieter, long-lasting, better grip | Costs more, heavier, less common |
| ABS | Smooth, lighter, common | Cheap, easy to find | Wears out faster, can fade |
Popular keycap shapes include Cherry, OEM, SA, and DSA. Try different profiles to see what feels best for you. Snap each keycap onto its switch. Make sure every key sits straight and feels solid. This step brings your 键盘制作过程 to life.
Remapping
Want to change how your keys work? Remapping lets you do that. You can swap keys, create shortcuts, or set up macros. This makes your keyboard fit your style and boosts your speed. Here are some great tools for remapping:
- PowerToys Keyboard Manager: Swap keys, change shortcuts, or set up custom actions.
- VIA: Plug in your keyboard and start customizing layouts, layers, and macros with a simple interface.
Remapping has many benefits. You can make typing easier, reduce hand movement, and save time on tasks. Check out this table for more ideas:
| Benefit | Description |
|---|---|
| Efficiency | Assign shortcuts to single keys |
| Ergonomics | Move keys to match your typing style |
| Customization | Program macros for repeated actions |
You don’t need to flash firmware or install extra software with VIA. Just drag and drop to set up your keys.
If you need help with remapping or run into any issues, Hengcang’s customer support is ready to guide you. They offer answers, troubleshooting, and after-sales service to make sure your keyboard works just the way you want.
You now know how to make a keyboard from scratch. First, pick the right parts. Practice soldering on some old pieces. Test your work after each step. If you mess up, it’s okay. You will get better with practice. Share your ideas or stories with other builders. Hengcang gives you good parts and helpful support. You can also change your keyboard to fit your style. Want to learn more? Try these top groups for cool projects:
| Source | Description |
|---|---|
| Geekhack | Large US forum for keyboard fans. |
| /r/mechanicalkeyboards | Busy subreddit for custom builds. |
| Deskthority | European place for keyboard lovers. |
Keep practicing and you will improve every time!
FAQ
How long does it take to build a keyboard from scratch?
You can finish your first build in about two to four hours. If you take your time or run into problems, you might need a whole afternoon. Patience helps!
Do I need to solder switches for every keyboard build?
Not always! Many PCBs are hot-swappable. You just push the switches in. If your PCB is not hot-swappable, you need a soldering iron.
What should I do if a key does not work after assembly?
Check the switch first. Try reseating it. If that does not help, look at the solder joint or test the PCB. Hengcang’s support team can help you troubleshoot.
Can I customize my keyboard layout after building?
Yes! You can use software like VIA or QMK Configurator. Remap keys, set up macros, or change layers. You get full control over your keyboard.